A few months ago I walked in to a salon with a phone full of screenshots. Forty one nail designs, saved over three weeks. Chrome swirls, tiny hand-painted cherries, a mountain scene on a ring finger. The nail tech looked at my phone, looked at my hands, and asked, “Do you type all day?” I do. She quietly suggested a sheer pink with one thin gold line, and I left with the best manicure I’d had in years.
Nobody said a word about my nails for two weeks, except they kept saying “your hands look so put together.” That’s the magic of simple gel nails. They don’t shout they just make everything look polished.
This guide walks through 25 easy elegant designs you can ask for at a salon or try at home, plus the prep, mistakes, and aftercare that decide whether your manicure looks expensive or sloppy.
What “Simple” Actually Means for Gel Nails
Simple doesn’t mean boring and it definitely does not mean lazy. In my experience, a simple design is one with one idea. Single color, one accent and one finish. The moment you stack glitter and gradient you have left territory.
Gel polish suits this style because of how it behaves. It’s cured under an LED or UV lamp, so it sets hard and glossy, and a well-done set can last two to three weeks without chipping. That durability is the whole reason minimalist designs look so good in gel. A plain nude with a clean shine looks intentional, while the same nude in regular polish can look flat after three days.
There’s also a practical upside. Simple designs are forgiving. If one nail grows out slightly differently or you get bubbles and soft neutral hides it far better than dark detailed design.
Prep and Tools Before You Start
Whether you’re booking an appointment or doing your own nails, prep is about 70 percent of the result. I learned this the hard way after a rushed home manicure peeled off in four days.
If you are doing it yourself, Here is basic kit:
- An LED or UV nail lamp (check that your gel polish is compatible with it)
- Gel base coat and gel top coat
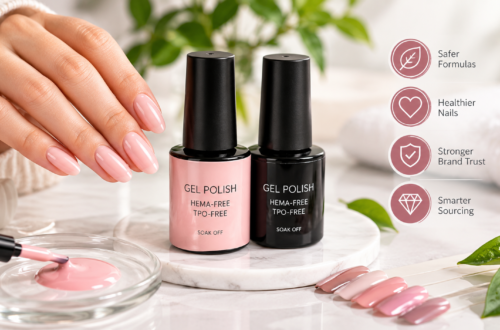
- Your chosen gel colors
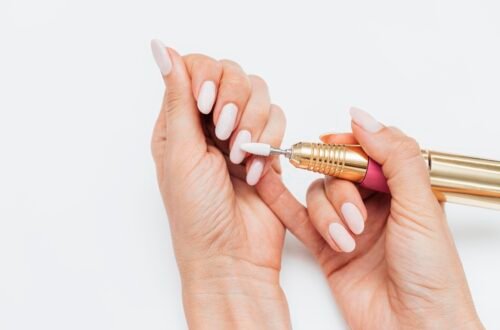
- A nail file and buffer
- Cuticle pusher and lint-free wipes
- Isopropyl alcohol for wiping dust and the sticky layer
- A thin detail brush for line work
The process is every time. Push back cuticles and buff nail surface and wipe away dust. Apply thin coat and cure it. Add two thin color coats curing each one. Finish with top coat and cap free edge and cure again.
The key word is thin. Thick coats wrinkle pool at cuticle and peel early. Two thin layers beat one heavy one.
25 Simple Gel Nail Designs
I have grouped these by style. So you can jump to whatever matches mood.
Soft Neutral and Nude
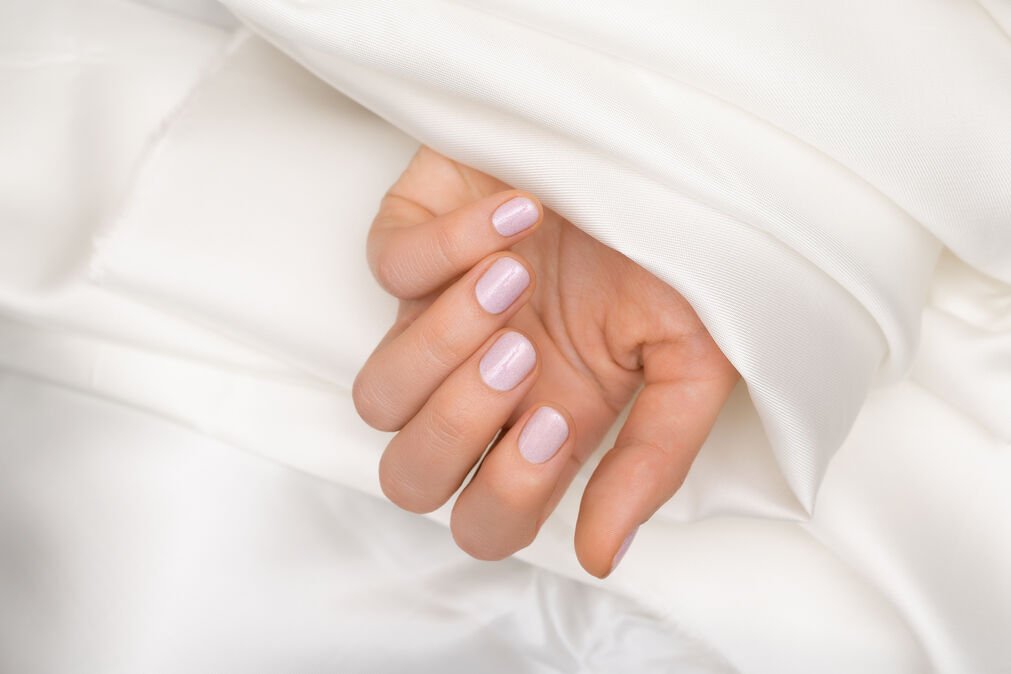
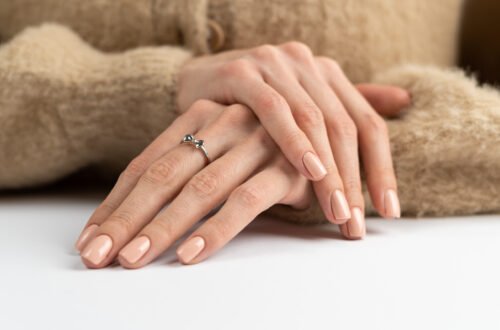
- Sheer pink milky gel. The “your nail but better” look. Ask for translucent pink with top coat. It goes with everything and grow out nicely.
- Classic nude. Pick shade lighter than your skin tone for elongated looking fingers. Two thin coats nothing else.
- Creamy beige. Warmer than a nude and a little more polished. It look good on short, squared nails.
- Soft greige. That gray beige mix feels modern without being cold. A solid choice for office life.
- Natural French tips. The traditional French with thin white tip over sheer base. Keep the white line slim and it feel timeless rather than dated.
- Skin-tone French. Same idea but the tip is soft or taupe instead of bright white. Hard to get wrong.
Minimal Nail Art
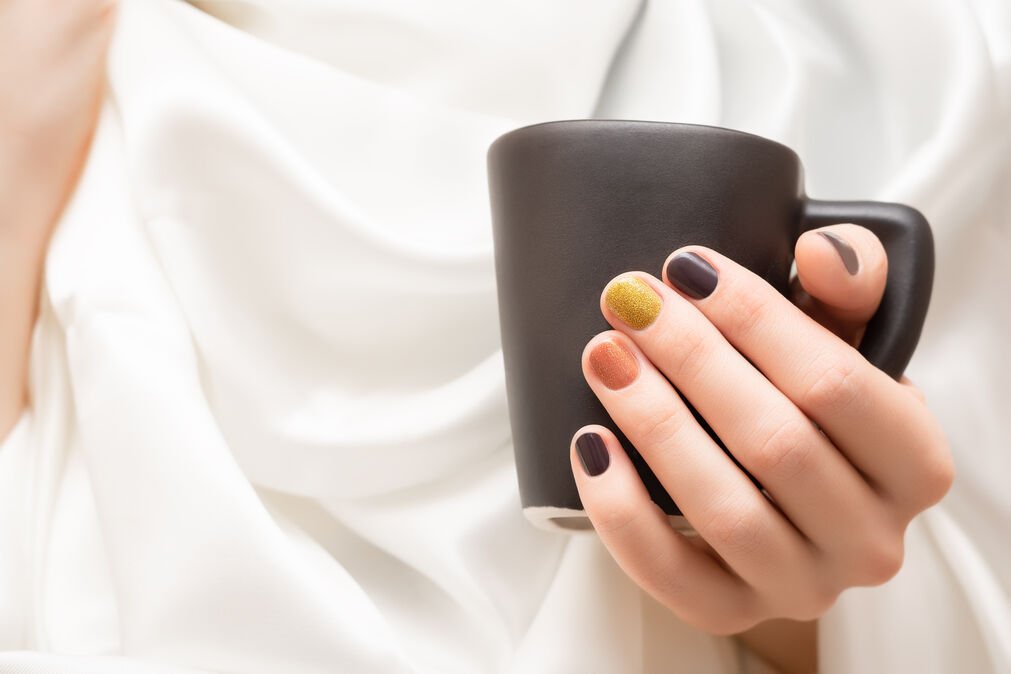
- Single gold line. One thin metallic stripe running across the nail on a nude base. This is the design my nail tech talked me into, and I’d order it again.
- Tiny dot accents. A single small dot near the cuticle on each nail, or on just two fingers. Cute without trying hard.
- Micro French. An ultra thin colored tip may be soft white, pastel even black. It is quieter cousin of the classic French.
- Half moon manicure. Leave the cuticle area bare in neat crescent and color the rest. It look clean and surprisingly sophisticated.
- Negative space stripe. A thin diagonal or vertical strip of clear nail with color on either side. Easy with a bit of nail tape at home.
- Single accent nail. Keep nine nails plain and give the ring finger one tiny detail, like a small star or a line of foil.
- Skinny vertical stripes. Two or three hairline stripes on a nude base. Use a long detail brush and light pressure.
Color-Forward but Still Simple
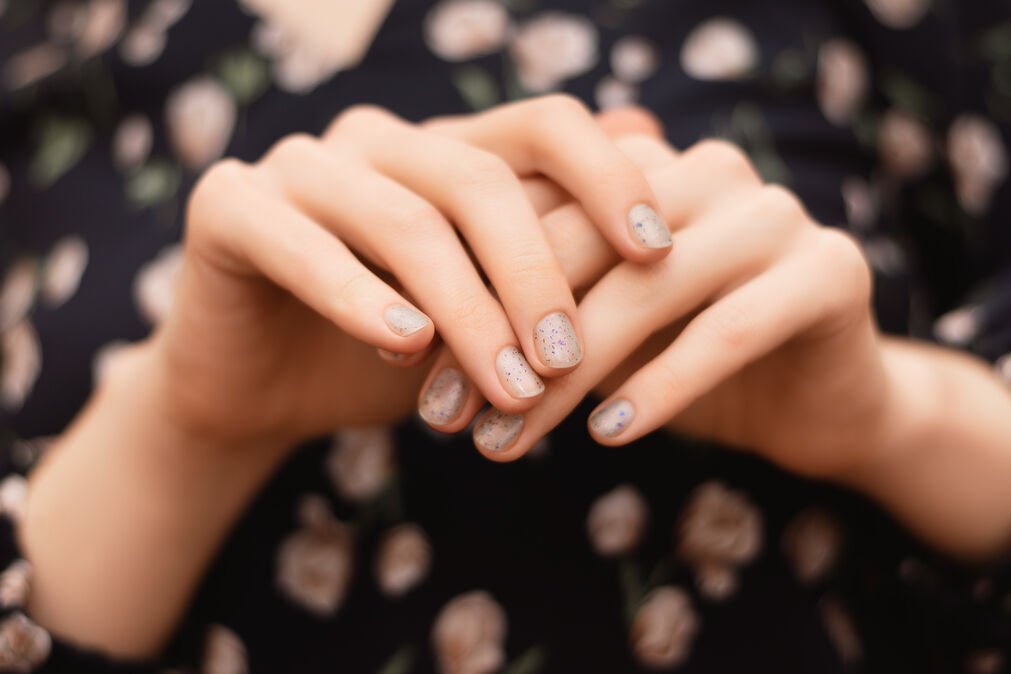
- Classic red. A deep cherry red, shiny. It always looks good. Wear it with jeans and a white tee and you’re set.
- Burgundy or wine. Just a darker red. Looks great in fall and winter.
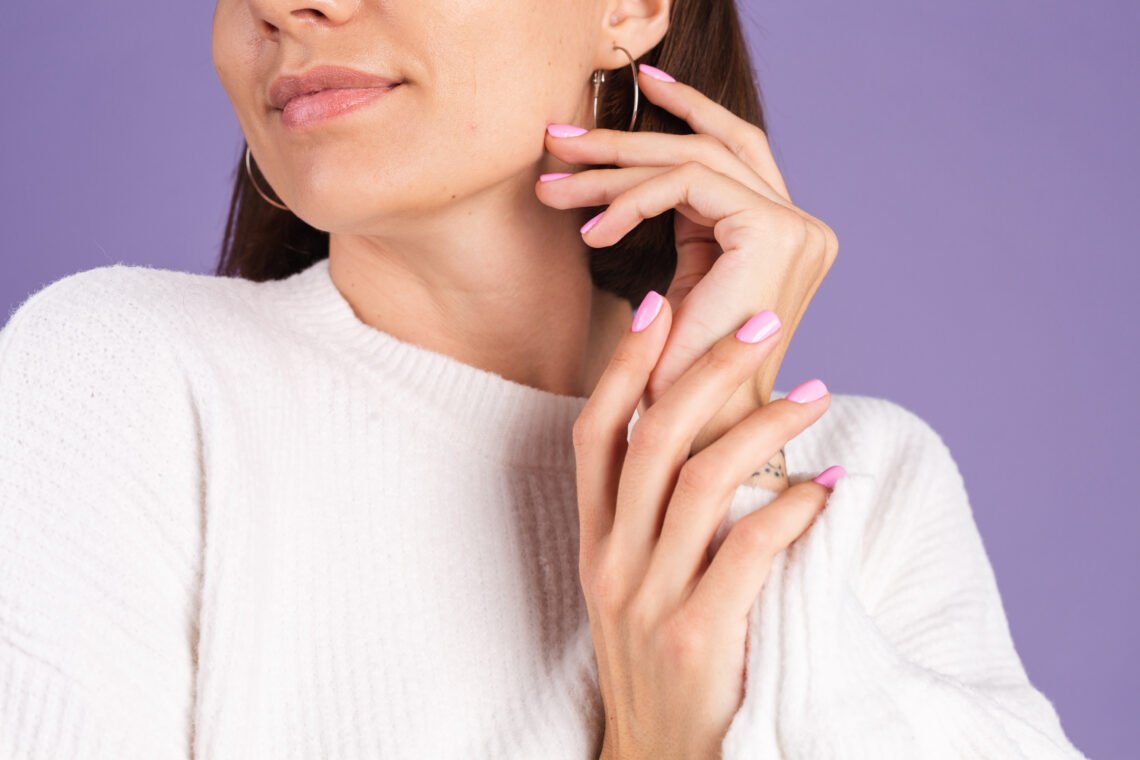
- Dusty rose. A soft pink that suits almost everyone.
- Sage green. A calm, greyish green. Looks nice on short almond nails.
- Baby blue. Light and fresh. Makes plain nails a bit more fun.
- Chocolate brown. Rich but still kind of neutral. Good if nude is boring to you and bright colors are too much.
Finishes and Texture
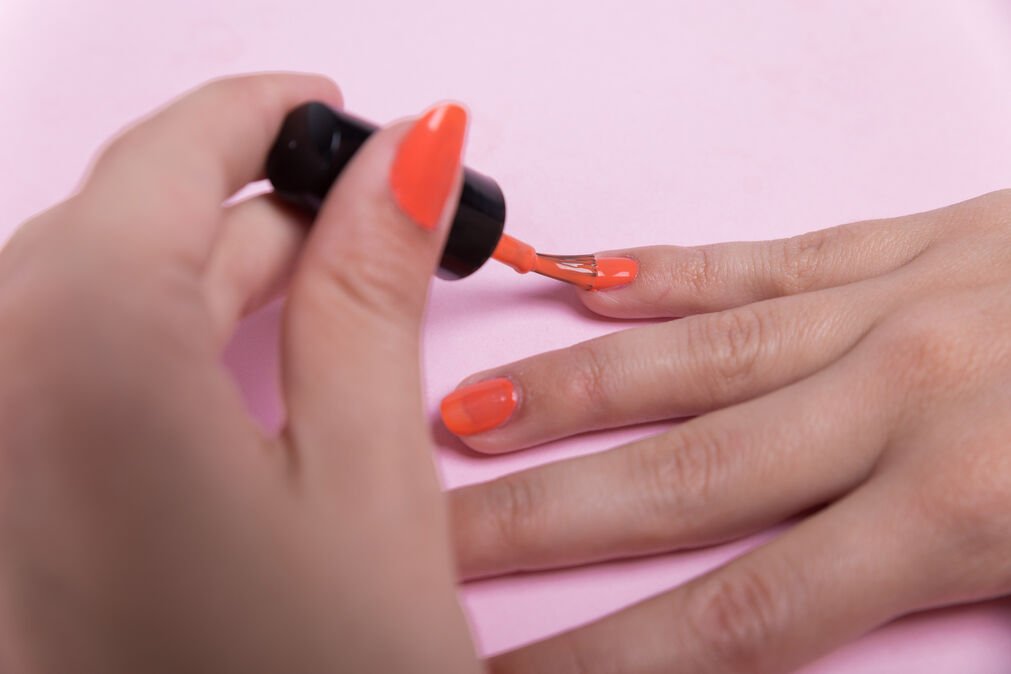
- Glossy clear gel. Just base coat and top coat on your own nails. Easiest way to make them look healthy.
- Soft matte. Use matte top coat instead of shiny one and any color looks cooler. It shows oil and smudges more though, so keep cuticle oil handy.
- Subtle shimmer. A bit of sheer shimmer over a nude color. It catches the light but doesn’t look like party nails.
- Cat eye gel. A magnetic polish that makes a soft line of light on the nail. Looks fancy but all you need is a magnet and a few seconds.
- Chrome wash. Rub a thin layer of chrome powder over a sheer color for a soft shiny glow. Go easy on it or it looks like a mirror.
- Ombré nude. A soft fade from light shade to a slightly darker one at the tips. Blend it with a makeup sponge and cure it once it looks smooth.
How to Pick Design That Suits You
Not every design works on every hand and that is okay. A few rules of thumb I have picked up:
Nail length and shape. Short nails look best with sheer or light shades and slim details. Long nails can carry deeper colors and bolder finishes like chrome or cat eye. Almond and oval shapes make fingers look longer, while squoval is a practical pick if you’re hard on your hands.
Skin tone. Nudes that match or lift natural tone look flattering. If your nail look washed out in beige try pink leaning or caramel leaning nude instead. Reds and berries tend to work for nearly everyone as long as you pick undertones that suit you.
Lifestyle. If you wash your hands constantly or work with them, go for sheer shade. Chips and growth show up much less on a milky pink than on a dark red. If you want to feel pulled together for events and photos, bolder colors earn their spot.
My own test is simple: would I still like this color in the middle of week three? If answer is yes, it is a good pick.
Common Mistakes That Ruin Simple Manicure
Simple designs leave now here to hide so small errors stand out. These are the ones I see most often.
- Skipping prep. Oils and dust on the nail are the number one reason gel lifts.
- Thick layers. They cure unevenly wrinkle.
- Flooding cuticle. Gel that touches skin tends to lift and can irritate. Leave a hairline gap.
- Forgetting to cap the tips. The free edge is where chip begin.
- Using the wrong lamp or weak one. Under cured gel stays soft and can cause skin reactions. Follow your product’s cure times.
- Wiping off the tacky layer too early or too late. Wipe it only after the final top coat has cured and with lint free wipe.
One more thing worth saying plainly. If you notice itching or redness around nail so stop using that product. Uncured gel on skin can cause an allergic reaction in people. Try to keep it off your skin. If irritation doesn’t go away, check with a doctor.
Making Your Gel Manicure Last and Removing It Safely
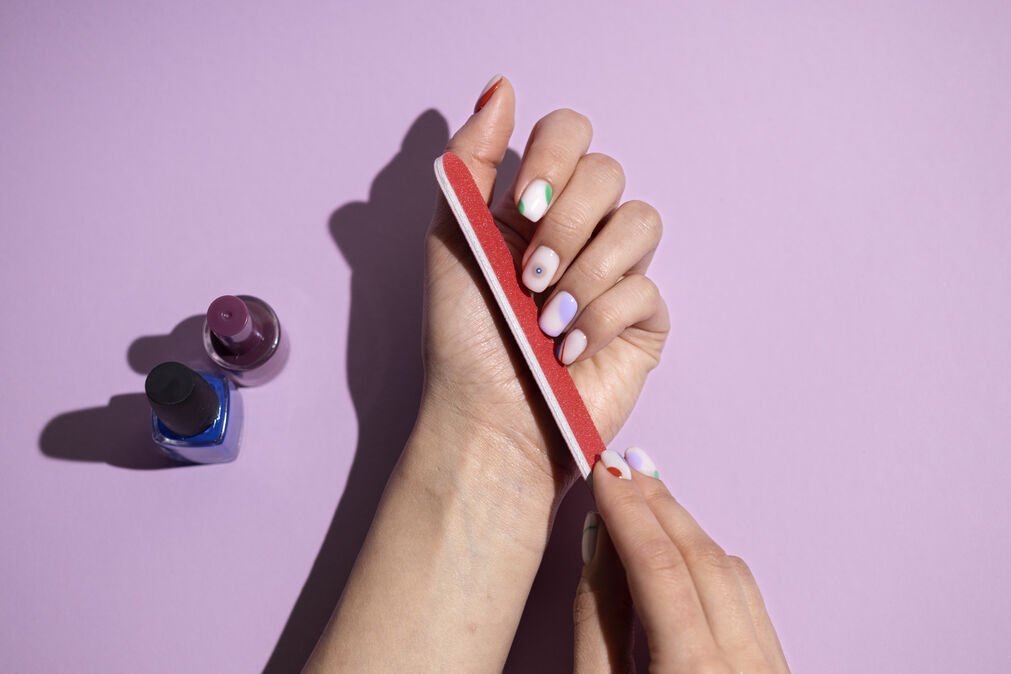
Gel manicure can easily last 2 to 3 weeks
Put cuticle oil on every day. Wear glove when you washing dishes or cleaning because hot water and harsh cleaners wear the gel down faster. And do not use your nails to open stuff. That is the quickest way to crack them.
Taking it off is where most people go wrong. Don’t peel it. It pulls a layer of your real nail off with it, and your nails end up thin and sore. Do this instead:
- Take a file and rough up the shiny top layer, so the acetone can get through.
- Soak some cotton in acetone. Press it on your nail and wrap your fingertip in foil.
- Leave it for 10 to 15 minutes.
- Gently push the gel off with a cuticle pusher. If some is still stuck, just wrap it up again and give it a few more minutes. Don’t scrape it.
- Buff your nails lightly, wash your hands, and put on some oil and moisturizer.
You don’t really have to take breaks between gel sets, that’s up to you. But if your nails start feeling thin or sensitive, let them rest for a week or two and keep oiling them.
Where Simple Nail Trends Are Heading
Clean, simple nails have been popular for a while and I think they are staying. Sheer colors, a soft shine and small details are winning over heavy decoration. People want nails that last and still look neat.
You will see more light chrome and cat eye finishes and more people looking after their nails. Short and natural nails are every where now, much more than the super long ones from a few years ago. Trends change but clean nude and good red always come back.
Final Thoughts
Simple gel nails are about leaving stuff out. Pick a color you like, keep the shape neat and put a shiny top coat on. That’s honestly it.
Start with color you know you will like, like milky pink or classic red. Once you are comfortable, try one small thing like a gold line or a thin French tip. You will get lots of compliments and you won’t be fixing chips all weekend.
Whatever you pick just enjoy it. Nails are things you can change in twenty minutes that make you feel good all week. I hope one of these 25 designs end up in your next salon.
FAQ’s
How long do simple gel nails last?
Around two to three weeks. If you keep coats thin and prep your nails well. They hold up better. Washing hands and cleaning without gloves or using your nails to open stuff will wear them down faster. Sheer colors hide and grow out so they look good for longer.
Can I do these at home as a beginner?
Yes, most of them are pretty easy. Solid nudes, clear gel and matte are the best ones to start with. Try one plain color first, then do lines or French tips later. Make sure your lamp works with your polish and do not skip cure time. Thin coats are the key.
Are gel nails bad for natural nails?
Not really. The gel isn’t the issue. It’s usually the filing too much, peeling it off or pulling it off the wrong way that causes damage. Take it off properly, use cuticle oil and your nails will be fine. If they feel weak and sore give them break.
Which color suits most people?
Sheer pink or a soft nude. It looks good on almost everyone. Red works for a lot of people too, you just have to find the right shade for your skin. Not sure? Test a few colors on one nail first.
What’s the easiest design for short nails?
Milky pink, clear gel or thin French tip. They keep short nails looking neat and not crowded. Thin lines and tiny dots look nice too. Just keep them small and spaced out.