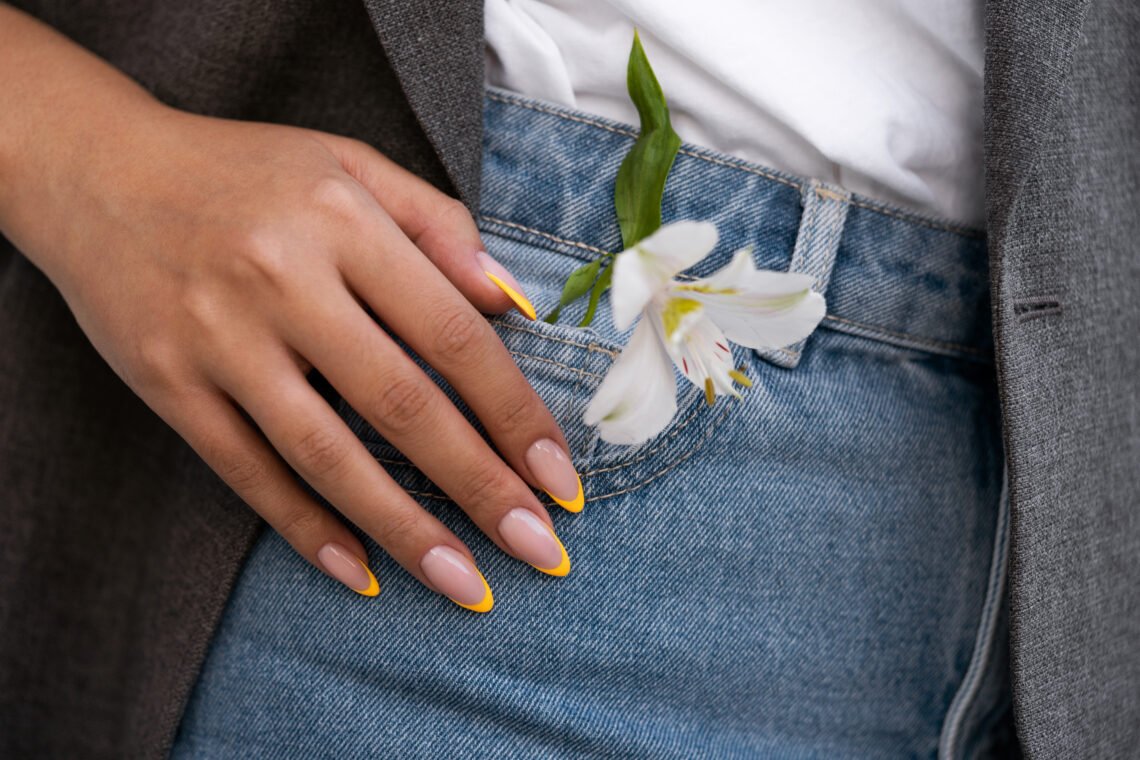
To do French tip nails at home, start with clean, shaped nails and a thin base coat. Next, apply a sheer pink or milky base, and let it dry completely. Then, paint a thin white line along the tip, either freehand or with tip guide stickers. Finally, clean the edges, seal the free edge, and finish with a glossy top coat.
Last winter, I booked a salon appointment for a French manicure, but my plans changed at the last minute. So I decided to try it myself, mostly out of stubbornness. My first attempt looked terrible, because the white lines were thick, uneven, and slightly purple from the pink underneath.
However, I kept practicing over the next few weeks, and something clicked. It turns out that a good French manicure at home depends less on talent and more on having the right tools and a calm routine. In this guide, I will walk you through every step, so you can skip my early mistakes.
Why a DIY French Manicure Is Worth Trying
A DIY French manicure saves money, and it also saves time. Salon visits can be relaxing, but they take planning, travel, and a regular budget. At home, on the other hand, you can redo a chipped nail in five minutes while a movie plays.
There is also a creative benefit. When you do french tips at home, you can choose any color, thickness, or shape you like, instead of choosing from a fixed menu. As a result, you learn what suits your hands, and you slowly build the confidence to try bolder designs.
That said, I will be honest with you. Your first set may not look salon-perfect, and that is completely normal. Nevertheless, the French tip is one of the most forgiving designs, because small flaws hide easily under a glossy top coat.
French Tip Nail Tools You Actually Need
You do not need a huge collection to start. In fact, buying too many products at once usually leads to clutter and confusion. Here are the french tip nail tools I recommend, in the order you will use them.
- A nail file and buffer. First, these help you shape every nail evenly, and they also smooth the surface so polish goes on without bumps.
- A cuticle pusher and cuticle oil. Since tidy cuticles make any manicure look cleaner, these two items matter more than people expect.
- Rubbing alcohol or nail cleanser. This removes natural oils, so your polish grips better and lasts longer.
- A strengthening base coat. It protects your natural nails from staining, and it also gives the color something to hold onto.
- A sheer pink, nude, or milky base polish. For a natural look, choose a shade that is close to your own nail bed color.
- A white polish for the tips. Look for a formula that is creamy and opaque, because thin, streaky whites need too many coats.
- A thin nail art brush. Although it is optional, it gives you far more control than the brush inside the bottle.
- French tip guide stickers. These are cheap, and they are especially helpful for beginners who struggle with freehand lines.
- A small flat brush and nail polish remover. Together, they let you clean up edges in seconds.
- A quick-dry glossy top coat. It seals the design, and it gives that smooth, professional shine.
If your budget is tight, buy the base coat, the white polish, the guide stickers, and the top coat first. Then, add the rest over time as you get more comfortable.
How to Prep Your Nails Properly
Prep is the part most people rush, yet it makes the biggest difference. Because polish sticks to clean and smooth surfaces, a few extra minutes here will improve everything that follows.
Start by removing any old polish completely. Then, wash your hands and soak them in warm water for a couple of minutes, which softens your cuticles. After that, gently push the cuticles back with a pusher. Please avoid cutting them aggressively, since that can cause irritation.
Next, file your nails into your preferred shape. For French tips, I usually recommend a squoval or soft almond shape, because both create a graceful curve at the tip. Finally, buff the surface lightly and wipe each nail with rubbing alcohol. Once you finish, your nails should feel clean, dry, and slightly matte.
French Manicure Step by Step
Now comes the main part. If you follow these steps in order, you will get a neat and natural result, even as a beginner. Remember that thin coats are your best friend throughout the process.
- Apply the base coat. First, brush on one thin layer and let it dry for about a minute. This protects your nails, and it prevents the white polish from staining them.
- Apply the sheer base color. Next, paint a thin coat of pink, nude, or milky polish. If the color looks uneven, add a second thin coat, but do not rush it.
- Let everything dry fully. This step is important, because guide stickers will pull off wet polish. As a general rule, wait at least five to ten minutes for regular polish.
- Place your tip guides (optional). Then, position a sticker just below the free edge, following the natural curve of your nail. Press the edges down firmly so no polish leaks underneath.
- Paint the tip. After that, apply the white polish along the edge in one smooth stroke. Since thin layers dry cleaner, avoid loading the brush with too much polish.
- Remove the sticker carefully. While the white polish is still slightly wet, peel the guide off slowly. This way, the edge stays sharp instead of cracking.
- Add a second layer if needed. If the white looks patchy, apply one more thin coat after the first dries.
- Clean up the edges. Then, dip a small flat brush in remover and tidy any messy spots around the skin.
- Seal and finish. Finally, run the brush along the very tip of your nail, and apply a glossy top coat over the whole surface.
Once you are done, give your nails about ten more minutes to set. Even quick-dry formulas stay soft underneath for a while, so avoid reaching into your bag or pressing buttons right away.
Three Ways to Paint the Tip (Pick Your Method)
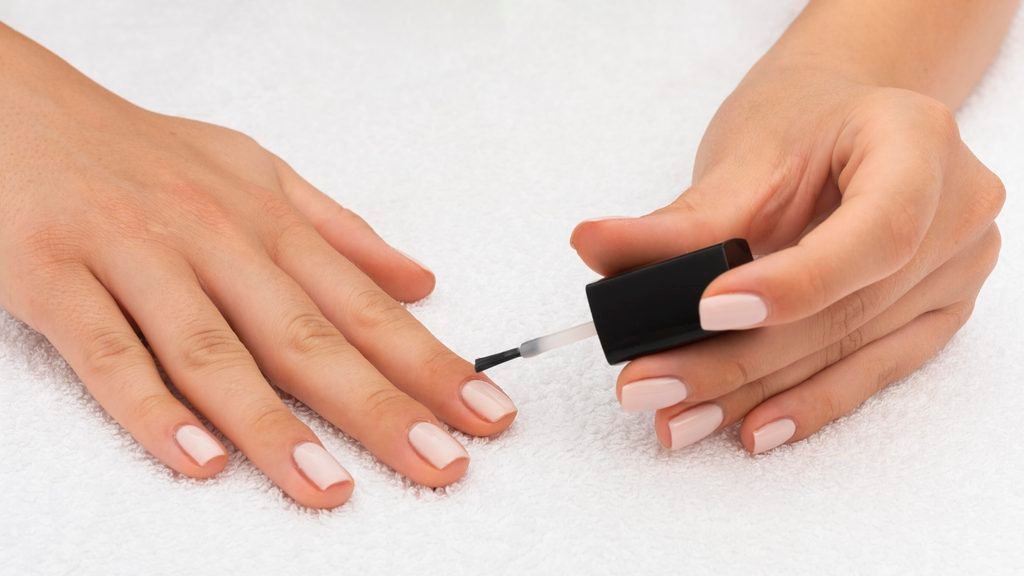
Different people prefer different techniques, so it helps to know your options. In my experience, each method suits a different skill level.
Method 1: Tip guide stickers. This is the easiest method for beginners, because the sticker creates the line for you. However, the curve is fixed, so it may not match every nail shape perfectly.
Method 2: Freehand with a thin brush. This gives you the most natural and customizable result. Although it takes practice, it becomes quick once your hand learns the motion. To keep your hand steady, rest your wrist on a table and move only the brush.
Method 3: The bottle brush swipe. Here, you simply swipe the white polish across the tip using the regular brush. While it is fast, the line is usually thicker, so it suits bold looks better than delicate ones.
If you are unsure where to begin, start with stickers. Then, once you feel comfortable, move to freehand for a softer and more professional finish.
How to Fix Mistakes Without Starting Over
Mistakes happen to everyone, so it helps to know a few simple rescues. Fortunately, most problems are easy to fix.
If the line is too thick, wait until it dries, and then carefully trim it with a thin brush dipped in remover. On the other hand, if the line looks wobbly, you can soften it by blending the edge gently, which gives you a soft-focus French tip instead.
When the white polish looks streaky, do not scrub at it. Instead, let it dry and add another very thin coat. Similarly, if you smudge a nail, it is usually better to remove that one nail and redo it than to keep patching it.
Lastly, a thick top coat can hide small bumps and uneven spots. Therefore, take your time with that final layer, because it brings the whole look together.
Easy Variations Once You Get the Hang of It
After a few successful attempts, you may want to experiment. Luckily, the same steps work for many variations, so you do not have to learn everything from scratch.
For example, you can swap white for a pastel shade like lavender, baby blue, or sage green. Alternatively, try a skinny line French, which uses a very thin tip and looks modern on short nails. If you like a little shine, add a touch of chrome powder over the tip, or place one small gem near the cuticle.
Another popular option is the reverse French, where the color sits at the cuticle instead of the tip. Meanwhile, a double French adds a second thin line under the main tip for extra detail. Whichever you choose, keep the rest of the design simple, because that makes the highlight stand out.
Common Mistakes to Avoid
I have made almost all of these myself, so please learn from my experience.
- Painting the tip too thick. Thick polish looks bulky, and it also chips faster, so thin layers work much better.
- Skipping the drying time. Because wet polish smudges easily, patience here saves you from redoing the whole nail.
- Using an opaque, chalky base. This hides the natural look, so a sheer shade is always the better choice.
- Forgetting the base coat. Without it, bright polish can stain your nails, and chips appear sooner.
- Not sealing the free edge. Since most chips start at the tip, sealing it is one of the easiest ways to extend wear.
- Rushing the top coat. If you apply it too fast, it can drag the white polish and ruin the line.
How to Make French Tips at Home Last Longer

A beautiful manicure should last more than a couple of days. Fortunately, a few small habits help a lot.
First, apply a fresh layer of top coat every two or three days, because it adds protection and keeps the shine. Second, use cuticle oil daily so your nails stay flexible and less likely to crack. In addition, wear gloves when you wash dishes or clean, since hot water and strong products weaken polish quickly.
Also, avoid using your nails as tools for opening cans, scratching labels, or peeling stickers. If you do get a chip, you can often fix it by smoothing the area gently and adding a thin layer of color and top coat. This way, you can keep your set looking neat for up to a week or even longer.
Final Thoughts
Learning a diy french manicure is really about patience, not perfection. Once you have the right tools and a simple routine, the process becomes relaxing, and the results keep improving each time.
So choose one method from this guide, set aside an hour this weekend, and give it a try. If your first attempt looks a little messy, do not worry, because remover is cheap and nails grow back. I would love to hear how it goes, and which method ends up being your favorite.
FAQ’s
Can beginners really do French tips at home?
Yes, beginners can absolutely do French tips at home. Start with tip guide stickers, because they create a clean line without much skill. Also, apply thin coats and allow each layer to dry. With a little practice, your results will improve quickly.
What is the easiest way to get a straight French tip line?
The easiest way is to use French tip guide stickers on fully dried base polish. They give you a consistent curve, so you avoid wobbly lines. However, if you prefer freehand, use a thin nail art brush and rest your wrist on a table for stability.
How long should I wait between coats for a French manicure?
For regular polish, wait about one to two minutes between thin coats, and let the base color dry for five to ten minutes before adding guides or tips. Gel polish works differently, so follow the curing instructions on your product and lamp.
Why does my white tip look streaky or see-through?
Streaky white polish usually comes from a thin formula or from applying too little product. Therefore, choose a creamy, opaque white, and apply two thin coats instead of one thick one. Letting the first coat dry before the second also helps prevent patchiness.
How can I make my DIY French manicure last longer?
Use a base coat, seal the free edge, and finish with a glossy top coat. Then, add a fresh layer of top coat every two or three days, and apply cuticle oil daily. Wearing gloves for cleaning also protects the polish from water and harsh products.